Digital solutions to assemble large machine tools accurately
The Tekniker technology centre and Zayer have worked together to design and develop a software solution that guarantees a higher level of precision when assembling machine tools.

Correct machine tool assemblage is crucial for a machine to meet precision requirements throughout its entire service life as maintenance interventions can be reduced significantly, high quality production can be achieved and maintenance-related costs are cut back.
It is in this context that Tekniker, a member of the Basque Research and Technology Alliance (BRTA), is working to improve the accuracy of very large machine tools by means of an “error-free” assembly process that uses digital measuring and control tools.
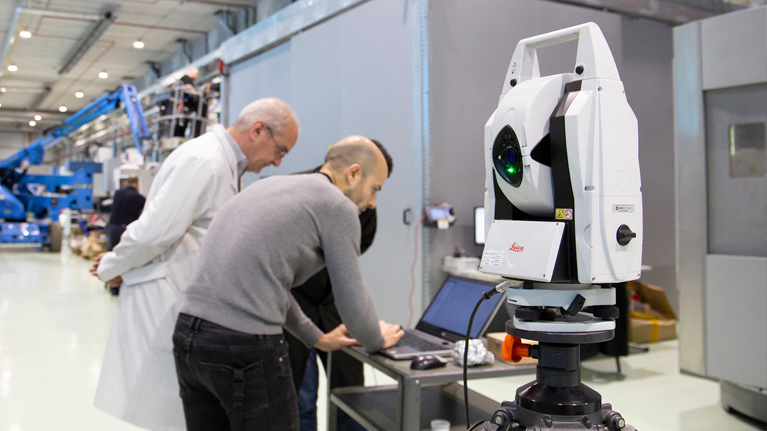
One of the most outstanding examples of this know-how is the so-called Precision 4.0 project in which the Basque centre has collaborated with Zayer, a company specialised in machine tools. As a result of this partnership, innovative software has been developed to deliver assisted precision machine tool assembly by means of Laser tracker technology.
“This software allows you to acquire and process assembly data to ensure proper assembly processes for all machine tools. Above all, it provides guidance for technicians throughout the entire assembly process as well as a fast and accurate process that delivers value per se”, explains Unai Mutilba, the researcher and coordinator in charge of Tekniker’s inspection and measurement solution.
This innovative measurement system, when applied to machine tool gantry configurations, improves assemblage accuracy, significantly reduces the amount of time required and ensures process traceability as with this software it possible to digitise the entire procedure and compile key information.
Assisted assembly process
In order to ensure that an assemblage process involving a machine tool is carried out accurately, the measuring system covers the different stages required to digitise the assembly process.
Firstly, a number of geometric components of interest for the assembly process are defined such as, among others, positioning, levelling, parallelism, straightness, bed heights and perpendicularity between different elements to provide a reference that will quantify relative orientation and position between components.
The next step consists in defining the elements to be measured to set up a local coordinate system and estimate the position and orientation of the rest of the elements that must be aligned.
Different probing tools are used to acquire measuring dots. This allows information to be collected on a very relevant position on the guides or skids of the machine tool.
Once the coordinate system is ready, the next step consists in measuring those components that you want to position in the space to ensure proper machine tool assemblage.
Next, the skids are installed and their movement is checked to make sure that geometry requirements are met. Once the skids allowing the columns to slide along the bench have been mounted, bench perpendicularity, positioning and parallelism are checked to make sure that geometry requirements have been met. Once the crossbar is in place, parallelism relative to the columns and the benches is verified.
Finally, the entire subassembly is mounted (ram and header) and the main geometric requirements are checked once more.
“The process does not only measure and compile assemblage information, but also displays coordinates related to points of interest on-screen and in real time. This allows the person in charge of the assembly process to make real-time corrections of the position and orientation of the unit relative to the space where it is located” says the Tekniker expert.
Consequently, this does only assist assembly processes involving large machine tools by improving accuracy and reducing costs, but also digitises the entire process step by step.
All the information is recorded digitally and is available to perform final machine tools adjustments; it is eventually included in the project data base and handed over to the customer.
This solution makes it possible to replace traditional measuring tools with a single measuring instrument, with the exception of the final levelling process for components (better than 10 μm) for which precision level gauges are still required.
Measurements made in the different stages of the assembly process are traced to the International System of Units (SI) by means of the calibration certificate of the Laser Tracker measuring system that has been used.
This project has an impact on SDG 9 - Industry, innovation and infrastructure and SDG 12 - Responsible production and consumption, contributing towards the economic, social and environmental pillars of sustainable development, and, ultimately, on society at large.
