Mechatronics and precision engineering
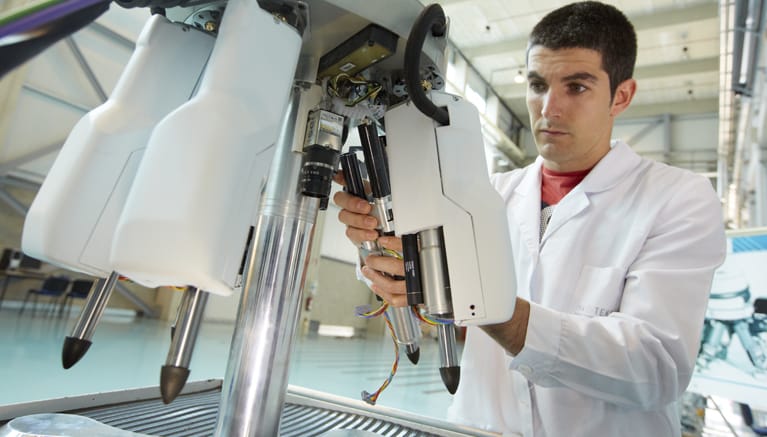
Mechatronics and precision engineering

TEKNIKER works with a range of technologies enabling it to tackle the design, and the simulation and validation of mechatronic systems on the basis of needs analyses and the development of conceptual designs right up to the supply and validation of fully functional prototypes.

Mechatronics consists of synergistic interaction among various engineering disciplines (mechanics, control, micro-electronics, computing, etc.) geared towards integrating functionalities in machines or devices.

Yet the concept of precision engineering includes the design and development of machines and devices following basic principles geared towards prioritising precision over any other requirement.

The two concepts grouped together in this field of research enable TEKNIKER to excel in activities involving more basic research (for example, in magnetic levitation systems) as well as in their application, preferably through the development of prototypes in different sectors, such as machine tools, renewable energies, equipment for large scientific facilities, etc.

The technologies mastered by TEKNIKER focus not only on theoretical analyses but also on experimental results, and the correlation between the two of them is a key element for developing the most basic concept right up to the final, fully operational equipment.

The basic technologies in connection with the theoretical analyses are as follows:

  • Structural analysis (deformations, stresses, fatigue, dynamics, composite materials)
  • Kinematics and dynamics (multi-body systems, drive systems, driving and guiding systems, rotor dynamics) 
  • Precision engineering (error budget, precision design, optomechanics, compliant mechanisms, dimensional methodology)
  • Fluid mechanics (hydraulics, hydrostatic and magnetorheological systems, highly-demanding pneumatics)
  • Thermoenergy engineering (heat transfer, thermodynamics)
  • Multi-domain and multiphysics simulation
  • Temporary modelling and simulation of systems, design and controller adjustment

Work is also carried out on experimental technologies, such as:

  • Stress measurement by means of extensometry
  • Vibration analysis (modal , modal operational, balanced analysis)
  • Temperature measuring technologies (thermography, thermocouples, pyrometry)
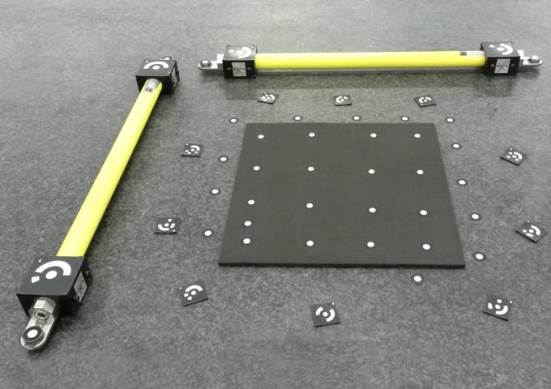
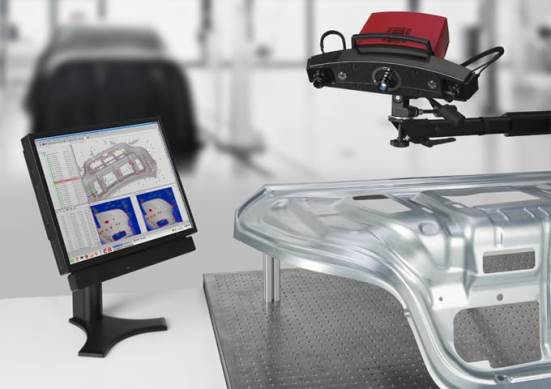
  • Dimensional metrology by means of the development of ad hoc procedures, multilateration techniques, measuring with contact (probes) and without contact (laser, optics and inductive techniques), 3D digitization and photogrammetry.


Related contents

  • Array ( [id] => 56 [idcategoria] => 1 [idsubcategoria] => [imagen] => AI_FA_Mecatronica_Ingenieria_Precision805x469px.jpg [caso_exito_1] => 80 [caso_exito_2] => [caso_exito_3] => [cliente_1] => [cliente_2] => [cliente_3] => [direcciones_email] => consultasweb@tekniker.es [titulo] => Mechatronics and precision engineering [video] => [texto_1] =>

    TEKNIKER works with a range of technologies enabling it to tackle the design, and the simulation and validation of mechatronic systems on the basis of needs analyses and the development of conceptual designs right up to the supply and validation of fully functional prototypes.

    Mechatronics consists of synergistic interaction among various engineering disciplines (mechanics, control, micro-electronics, computing, etc.) geared towards integrating functionalities in machines or devices.

    Yet the concept of precision engineering includes the design and development of machines and devices following basic principles geared towards prioritising precision over any other requirement.

    The two concepts grouped together in this field of research enable TEKNIKER to excel in activities involving more basic research (for example, in magnetic levitation systems) as well as in their application, preferably through the development of prototypes in different sectors, such as machine tools, renewable energies, equipment for large scientific facilities, etc.

    The technologies mastered by TEKNIKER focus not only on theoretical analyses but also on experimental results, and the correlation between the two of them is a key element for developing the most basic concept right up to the final, fully operational equipment.

    The basic technologies in connection with the theoretical analyses are as follows:

    • Structural analysis (deformations, stresses, fatigue, dynamics, composite materials)
    • Kinematics and dynamics (multi-body systems, drive systems, driving and guiding systems, rotor dynamics) 
    • Precision engineering (error budget, precision design, optomechanics, compliant mechanisms, dimensional methodology)
    • Fluid mechanics (hydraulics, hydrostatic and magnetorheological systems, highly-demanding pneumatics)
    • Thermoenergy engineering (heat transfer, thermodynamics)
    • Multi-domain and multiphysics simulation
    • Temporary modelling and simulation of systems, design and controller adjustment

    Work is also carried out on experimental technologies, such as:

    • Stress measurement by means of extensometry
    • Vibration analysis (modal , modal operational, balanced analysis)
    • Temperature measuring technologies (thermography, thermocouples, pyrometry)
    • Dimensional metrology by means of the development of ad hoc procedures, multilateration techniques, measuring with contact (probes) and without contact (laser, optics and inductive techniques), 3D digitization and photogrammetry.


    [fase_1] => [fase_2] => [fase_3] => [fase_4] => [texto_2] => [texto_tabla] => [enlace_flickr] => https://www.flickr.com/photos/teknikerik4/sets/72157648291763244/ [enlace_youtube] => https://www.youtube.com/playlist?list=PLdI9ptv1PWEzyrR3vQdyirdnMfE_8KX2u [enlace_issuu] => [enlace_slideshare] => [seo_h1] => Mechatronics and precision engineering [seo_url] => mechatronics-and-precision-engineering [seo_title] => Mechatronics and precision engineering - TEKNIKER [seo_desc] => TEKNIKER works with a range of engineering technologies enabling it to tackle the design, and the simulation and validation of mechatronic systems. [imagenes] => [enlaces] => Array ( [0] => Array ( [imagen] => [titulo] => UCLA Engineering [texto_corto] => [enlace] => http://www.mae.ucla.edu/ [alt] => UCLA Engineering ) [1] => Array ( [imagen] => [titulo] => Rolls-Royce University Technology Centre in Manufacturing Technology [texto_corto] => [enlace] => http://www.nottingham.ac.uk/utc/index.aspx [alt] => Rolls-Royce University Technology Centre in Manufacturing Technology ) [2] => Array ( [imagen] => [titulo] => Institute for Mechatronic Systems in Mechanical Engineering [texto_corto] => [enlace] => http://www.ims.tu-darmstadt.de/institut/startseite_4/Index.en.jsp [alt] => Institute for Mechatronic Systems in Mechanical Engineering ) [3] => Array ( [imagen] => [titulo] => Faculty of Engineering (UPV/EHU) [texto_corto] => [enlace] => http://www.ehu.eus/en/web/ingeniaritza-bilbao/hasiera [alt] => Faculty of Engineering (UPV/EHU) ) [4] => Array ( [imagen] => [titulo] => Faculty of Engineering (MU) [texto_corto] => [enlace] => http://www.mondragon.edu/en/phs [alt] => Faculty of Engineering (MU) ) ) [publicaciones] => Array ( [0] => Array ( [titulo] => Mejora de la precisión de máquinas herramienta de grandes dimensiones mediante la medida y compensación de las deformaciones térmicas [enlace] => mejora-de-la-precision-de-maquinas-herramienta-de-grandes-dimensiones-mediante-la-medida-y-compensacion-de-las-deformaciones-termicas ) [1] => Array ( [titulo] => Progress in industrial photogrammetry by means of markerless solutions [enlace] => progress-in-industrial-photogrammetry-by-means-of-markerless-solutions ) [2] => Array ( [titulo] => Traceable onboard metrology for machine tools and large-scale systems [enlace] => traceable-onboard-metrology-for-machine-tools-and-large-scale-systems ) [3] => Array ( [titulo] => Experimental evaluation of a special purpose miniature machine tool with parallel kinematics architecture: Free leg hexapod [enlace] => ) [4] => Array ( [titulo] => Fast, Compact and Precise Reflector Panel Measurement based on Autocollimation Principle [enlace] => fast-compact-and-precise-reflector-panel-measurement-based-on-autocollimation-principle ) [5] => Array ( [titulo] => Methodology for the design of a thermal distortion compensation for large machine tools based in state-space representation with Kalman filter [enlace] => methodology-for-the-design-of-a-thermal-distortion-compensation-for-large-machine-tools-based-in-state-space-representation-with-Kalman-filter ) [6] => Array ( [titulo] => Mejora de la precisión de MH de grandes dimensiones [enlace] => mejora-de-la-precision-de-maquinas-herramienta-de-grandes-dimensiones-mediante-la-medida-y-compensacion-de-las-deformaciones-termicas ) [7] => Array ( [titulo] => Dispositivo y método de verificación de superficies reflexivas y método de calibración [enlace] => en/inventions#P201331102 ) [8] => Array ( [titulo] => Método de calibración de una máquina de cinemática paralela portátil [enlace] => en/inventions#P201231186 ) [9] => Array ( [titulo] => Drift tube for linear accelerator (linac) with four-pole permanent magnets without welded caps [enlace] => en/inventions#P201231186 ) [10] => Array ( [titulo] => Silla de ruedas [enlace] => en/inventions#P07803634/ES2007/000432 ) [11] => Array ( [titulo] => Dispositivo captador solar térmico [enlace] => en/inventions#ES2013/070704 ) [12] => Array ( [titulo] => Máquina de cinemática paralela [enlace] => en/inventions#P009900877 ) ) [sectores] => Array ( [0] => Array ( [titulo] => Aeronautics and space [seo_url] => aeronautics-and-space [imagen] => aeronautica.svg ) [1] => Array ( [titulo] => Automotive [seo_url] => automotive [imagen] => automocion.svg ) [2] => Array ( [titulo] => Renewable energy [seo_url] => renewable-energy [imagen] => energias_renovables.svg ) [3] => Array ( [titulo] => The science industry [seo_url] => the-science-industry [imagen] => industria_ciencia.svg ) [4] => Array ( [titulo] => Infrastructures [seo_url] => infrastructures [imagen] => infraestructuras.svg ) [5] => Array ( [titulo] => Machine tools and manufacturing [seo_url] => machine-tools-and-manufacturing [imagen] => maquina_herramienta.svg ) ) [soluciones] => Array ( [0] => Array ( [titulo] => Automation and industrial robotics [seo_url] => automation-and-industrial-robotics [imagen] => ST_AutomatizacionRobotica_808x450px_icono.jpg ) [1] => Array ( [titulo] => Inspection and measuring [seo_url] => inspection-and-measuring [imagen] => ST_InspeccionMedida_808x450px_icono.jpg ) [2] => Array ( [titulo] => Mechatronic systems [seo_url] => mechatronic-systems [imagen] => ST_SistemasMecatronicos_808x450px_icono1.jpg ) ) [equipamiento] => Array ( [0] => Array ( [id] => 89 [titulo] => Atomic force microscope [imagen] => Microscopía_de_fuerza_atómica.jpg [texto] =>

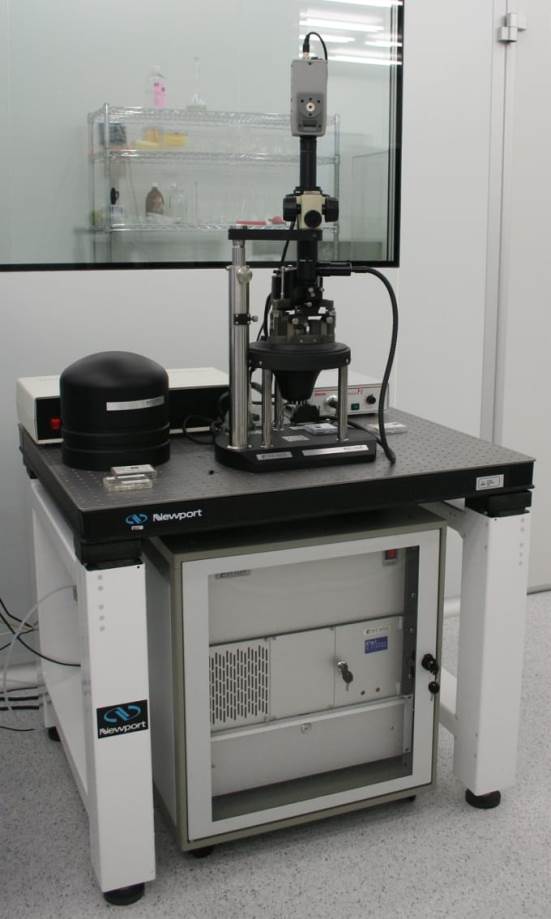
    CHARACTERISTICS OF THE EQUIPMENT

    • Dimensional characterisation of samples with a vertical range of measurement of up to 1 µm and a resolution of 1nm
    • Contact  and semi-contact measurement modes

    EXPERTISE

    • Precision measurements of nanostructures on polymers for optimising and guaranteeing the repeatability of the manufacturing process
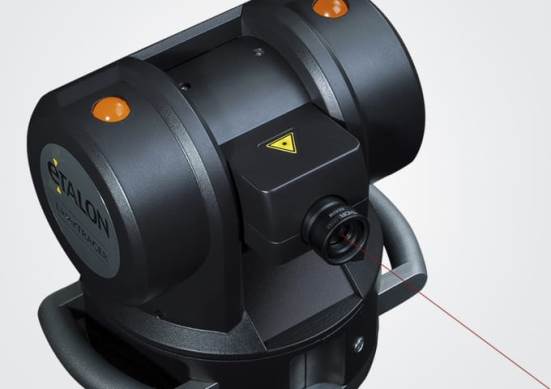
    ) [1] => Array ( [id] => 95 [titulo] => Laser tracer NG (ETALON AG) [imagen] => ES_Laser_Tracer_NG_680x480px.jpg [texto] =>

    CHARACTERISTICS OF THE EQUIPMENT

    • A portable interferometric system with a mobile reflector monitoring capability
    • The measuring of length is carried out with an uncertainty of U = 0.2 µm + 0.3 µm/m and is processed through multilateration to obtain the various geometrical deviations
    • The resolution of the equipment is 0.001 µm

     EXPERTISE

    • Volumetric verification of coordinate measuring machines (CMMs) and machine tools (MTs) as well as the interpretation and analysis of the geometric deviations obtained
    • Volumetric compensation of MTs through volumetric compensation modules for the main CNCs on the market
    • Volumetric compensation of CMMs with the collaboration of CMM manufacturers
    ) [2] => Array ( [id] => 96 [titulo] => Laser tracker AT901 and AT402 (Leica) [imagen] => ES_LaserTracker_AT90_AT402_680x480px.jpg [texto] =>

    CHARACTERISTICS OF THE EQUIPMENT

    • Portable coordinate measuring machine for 3D measuring in situ 
    • Precision U = 15 µm + 6 µm/m 
    • Portable equipment

    EXPERTISE

    • Verification and dimensional consulting of medium-sized and large parts, components and tooling, bearing in mind the requirements, procedures and standards to be taken into consideration in each case
    • Ad hoc research and development of specific laser-tracker-based measuring solutions
    • Research and development of calibration solutions for large-sized machine tools
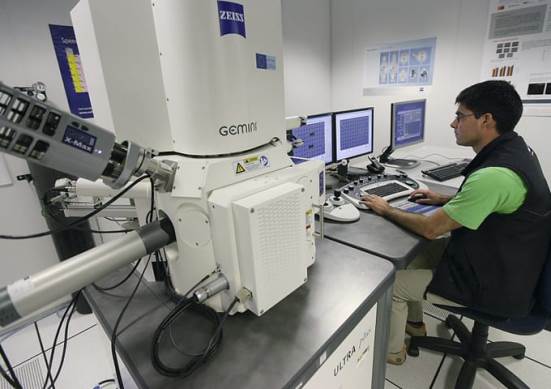
    ) [3] => Array ( [id] => 97 [titulo] => Scanning electron microscope [imagen] => ES_MicroscopioElectronicoBarrido_680x480px.jpg [texto] =>

    CHARACTERISTICS OF THE EQUIPMENT

    • Scanning electron microscope with field emission gun using a GEMINI column for high resolution and analysis
    • Resolution from 0.8 nm to 4.0 nm depending on the kV used
    • Acceleration voltage from 0.02 V to 30 kV
    • Magnification up to 1,000,000 
    • 5 apertures: 10 µm, 20 µm, 30 µm, 60 µm and 120 µm
    • Maximum sample weight: 0.5 kg
    • Charge compensator to prevent charging of non-conducting materials 
    • A range of detectors (Inlens, SE, AsB, ESB, EDS, EBSD)

    EXPERTISE

    • Study of micro and nano surfaces
    • Verification of parts
    • Fractography and microanalysis
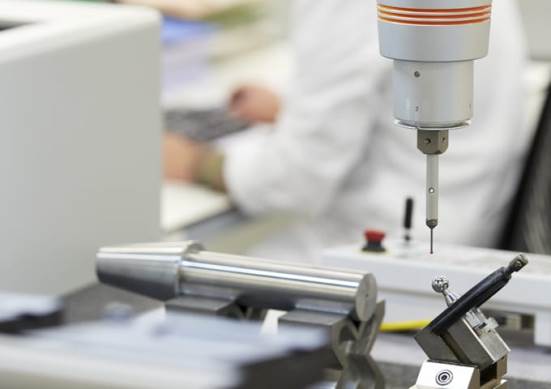
    ) [4] => Array ( [id] => 98 [titulo] => UPMC 850 CARAT (ZEISS) coordinate measuring machine [imagen] => ES_Maquina_Medir_Coordenadas_UPMC_850_CARAT_680x480px.jpg [texto] =>

    CHARACTERISTICS OF THE EQUIPMENT

    • Three-coordinate measuring machine with a measuring volume of 800x1000x600 mm 
    • Accuracies of (0.4+L/900) µm on each axis and (0.7+L/600) µm in volume
    • Fitted with a VAST-GOLD probe head with the possibility of taking discrete points and carrying out continuous scanning

    EXPERTISE

    • Calibration of a large variety of templates
    • Verification of parts
    • CAD profile comparison 
    • Verification of gears
    ) [5] => Array ( [id] => 99 [titulo] => Tritop (GOM) photogrammetric measuring system [imagen] => ES_Sistema_Medicion_Fotogrametria_Tritop_680x480px.jpg [texto] =>

    CHARACTERISTICS OF THE EQUIPMENT

    • Portable coordinate measuring machine for the 3D measuring of the position of target points on the mensurand
    • Contrast based on speed of use and precision (approx. 25 µm in a metre) of this measuring technique

    EXPERTISE

    • Characterisation of components of different size and volume 
    • Analysis of deformations in structures
    • Assistance in digitization prior to measuring by means of photogrammetry


    ) [6] => Array ( [id] => 100 [titulo] => ATOS IIe digitized measuring system [imagen] => ES_Sistema_Medicion_Digitalizado_ATOS_IIe_680x480px.jpg [texto] =>

    CHARACTERISTICS OF THE EQUIPMENT

    • Portable coordinate measurement machine for the 3D measuring of dense point clouds 
    • Thanks to the massive capture of points, parts and components are measured with high order shape deviations and free surfaces

    EXPERTISE

    • Geometrical and dimensional characterisation of components of different size and volume
    • 3D CAD comparison
    • Analysis and dimensional consulting of components with high order shape deviations and free geometries (plastic components, cast parts, etc.) 
    • Inverse engineering
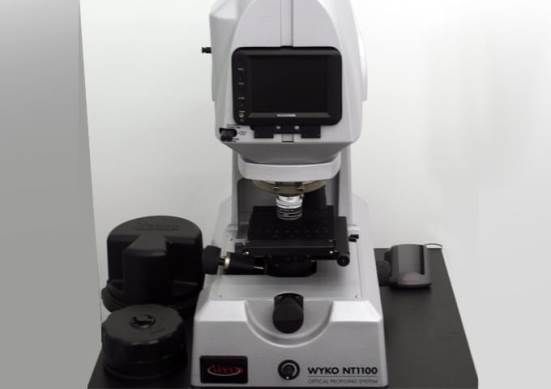
    ) [7] => Array ( [id] => 101 [titulo] => Wyko NT-1100 white light interferometer [imagen] => ES_Interferometro_Luz_Blanca_Wyko_NT-1100__680x480px.jpg [texto] =>

    CHARACTERISTICS OF THE EQUIPMENT

    • A white light interferometry microscope for measuring 3D surfaces with a high degree of resolution
    • The vertical range of the equipment goes from 0.1 nm to 1 mm 
    • Its repeatability can be as much as 0.01 nm

    EXPERTISE

    • 3D surface measurements with high resolution
    • Characterisation of surface roughness and measurements of component wear
    • Control of micro manufacturing processes by means of photolithography and laser, and analysis of wear and breakage
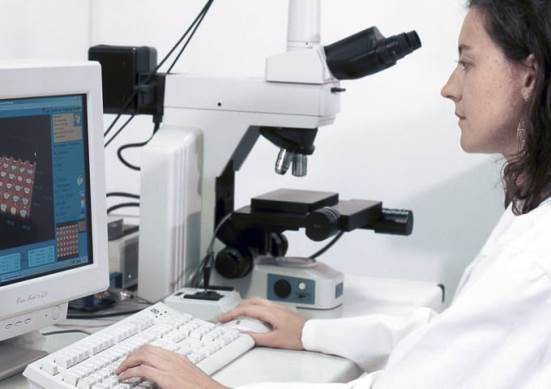
    ) [8] => Array ( [id] => 102 [titulo] => ECLIPSE ME600P Confocal Microscope [imagen] => ES_Microscopio_Confocal_ECLIPSE_ME600P_680x480px.jpg [texto] =>

    CHARACTERISTICS OF THE EQUIPMENT

    • Use of fluorescence (epifluorescence)
    • Focuses on one plane of the sample only
    • Eliminates information coming from other planes of the sample not focussed on
    • Obtaining of serial optical cross sections using samples with a certain thickness or whose fine cross section is hampered
    • Computing programs enable the serial cross sections to be combined; they are then used to reconstruct the structure observed in three dimensions

    EXPERTISE

    • Measuring of the area and volume of micrometric prints
    • Measuring of nanometric and micrometric heights, steps of a sample or print
    • Obtaining of sections for 3D reconstruction
    • Applications in the field of physics, chemistry, cell biology, biomedicine, etc.
    ) ) )

Industrial sectors